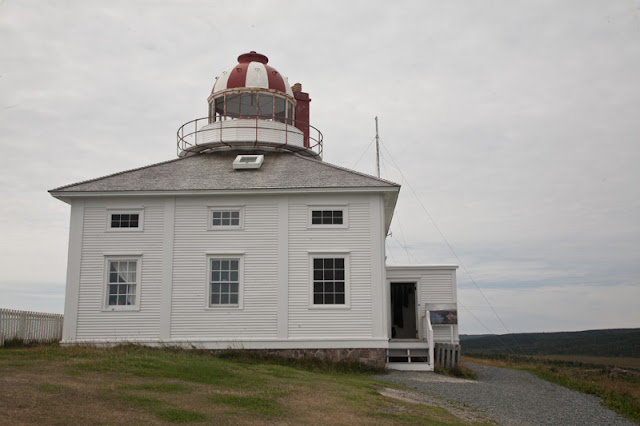
Here is the original:

My first attempt was to add a Layer>Overlay with a neutral density gray choice to brighten the whites in the lighthouse and hopefully to bring out details in the cloudy sky. The image remained bland.
So I thought about my choices to give this image "pop" and went to my NIK Software HDR Efex Pro. Now I wasn't combining images here, I just wanted to do something to make this one shot more interesting. When I went to the filter, I had 33 presets to choose from. After checking all of them, I chose "Realistic (Strong)" as the look I wanted.
I also like Topaz products so I went back and used Topaz Adjust to see what look I could get. I used the HDR Collection>Dynamic Pop II. Then I went over to Local Adjustments and used a brush to darken the sky more and to brighten up the lighthouse.
When I'm at a location, I strive to photograph photos that will stand well on their own without excessive post processing. Sometimes, the weather and the lighting are not optimum, so I'm glad to have these tools to create an interesting image when the conditions were not optimum on location.


No comments:
Post a Comment